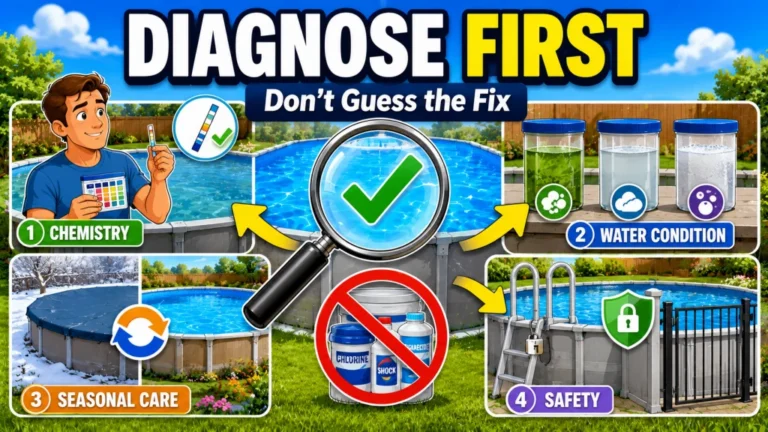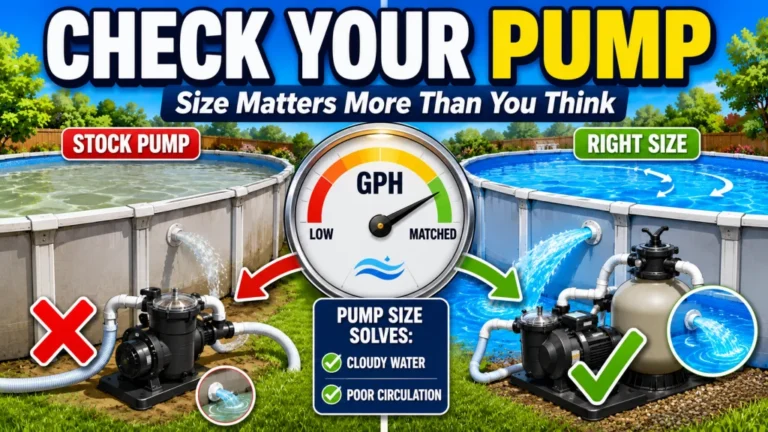
Above ground pool setup comes down to three phases, and getting any one of them wrong is what turns a pool you expected to keep for a decade into a pool that’s leaking or green by August. This guide walks through ground preparation, assembly and first fill, and chemical startup, in the order they actually happen and in the order their mistakes actually show up. You’ll also get a realistic sense of how long the whole process takes, since that number varies more than most kits let on. Read this before you unbox anything, not after the liner is already wrinkled.
Three Phases, One Pool’s Worth of Consequences
Every above ground pool setup failure I’ve walked into over fifteen years traces back to one of three phases: the ground wasn’t level, the liner went in with wrinkles, or the chemical startup got skipped or done out of order. There’s no fourth category. The pool kit itself is rarely the problem; how it was put in the ground is.
What makes this worth slowing down for is that the three phases don’t carry equal weight. Ground preparation is the one that determines whether the other two even have a chance, because a liner installed over an uneven base will wrinkle no matter how careful you are with it, and chemistry can’t fix a structural problem. Get all three phases right the first time and you’re looking at a pool that lasts a decade. Rush any one of them and you’re looking at a pool that lasts a season, sometimes less.
Phase 1: Ground Preparation
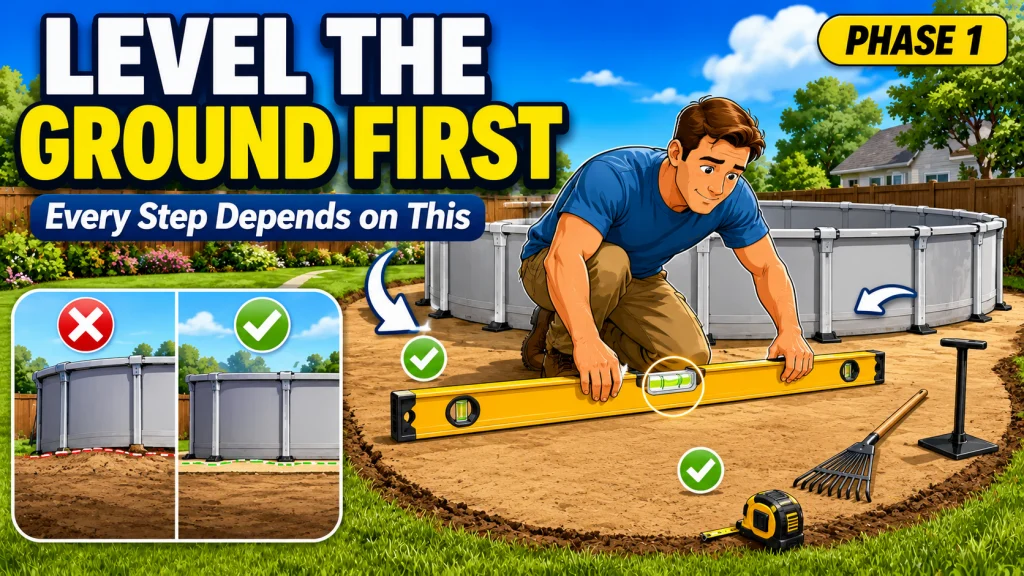
This is the phase owners rush most, and it’s the one that causes the most failures. The ground under the entire pool footprint needs to be level within about 1 inch. That number isn’t arbitrary: a pool holds thousands of gallons, and even a small slope means the water pushes harder against one section of wall than the rest. Past roughly 1 inch of slope, that uneven load starts working against seams and connectors instead of just sitting still, and the problem gets worse every time the pool refills. Past that tolerance, water distributes unevenly across the floor, which puts uneven pressure on the wall and, in bad cases, pushes the pool toward a structural failure rather than just a cosmetic lean.
You’ll know the ground is ready when a level held at the center reads flat in every direction you rotate it, with no more than that inch of drift at the edges, and when the compacted base holds your footprint without shifting underfoot. If you’re still sinking an inch or two when you walk the area, it needs more tamping before you move on.
The method that actually works is digging down to the lowest point in the footprint rather than building up the low spots with loose fill dirt. Fill dirt settles unevenly once the weight of the water sits on it, which reintroduces the exact unevenness you were trying to fix, just a few weeks later once the pool is already full. Once the area is level, most vinyl-lined pools need a 1 to 2 inch base layer, either fine mason sand or a manufactured foam pad, placed inside the track and kept clear of debris that could work its way into the liner.
- Mark the footprint and dig to the lowest point in the area, don’t fill the high points down to it.
- Check level from the center outward in every direction, not just across one diameter.
- Keep sand or base material inside the pool’s footprint only. Sand that extends past the track washes out and lets the pool settle unevenly over time.
- Never set patio blocks or pavers under the liner. They shift independently of each other and tear the liner from underneath.
Skipping the cove, the sloped edge of sand or foam where the floor meets the wall, is another mistake that shows up months later rather than on day one. Without it, the liner has a sharp edge to fold against at the base of the wall, and that fold is where seams crack first. None of this is complicated work, but it’s the phase most tempting to shortcut because the pool doesn’t look wrong yet. A full walkthrough of leveling tools, base material choices, and cove techniques for different pool types lives in the ground preparation guide for above ground pools, which is worth reading start to finish before you touch a shovel.

This foam cove offers a consistent, durable alternative to sand coves at the wall to floor junction, protecting the liner without shifting or settling over time. Made from engineered HDPE, it holds its shape under water pressure to prevent stretching, ballooning, and punctures. It requires no annual sand building or leveling, and is compatible with standard pool liner pads and wall insulation. The peel and stick backing allows tool free installation on any clean, dry surface, making it ideal for DIY liner replacements.
Check On AmazonIf you click this link and buy, we earn a commission at no additional cost to you.
Phase 2: Assembly and the First Fill
Once the ground is right, assembly is where the wall, uprights, and liner have to go in correctly before a single gallon of water touches the pool. This sounds obvious, but the first fill is unforgiving: any wrinkle that sets in the liner while water is filling becomes a permanent feature, not something you can smooth out later. Working the liner from the center outward as it fills, and having a second person walk the perimeter checking for folds, catches most of this before it locks in.
How well that first fill goes has a direct effect on how long the liner itself survives, which is worth knowing before you’re standing over it with a hose running. Soft-sided frame pool liners typically last 5 to 9 years, and steel wall pool liners run 7 to 12 years, assuming the base was level and the liner went in wrinkle-free. A liner installed over an uneven base or with unresolved folds can fail years earlier than that, and replacement runs roughly $500 to $1,500 depending on pool size.
Note: A wrinkle that looks minor during the first few inches of fill only gets worse as water weight increases. If you see one, drain back down and smooth it before continuing, rather than hoping it works itself out.
The other piece of Phase 2 that gets skipped is confirming the pump and filter connection before the pool is full enough to test it properly. Priming the pump, checking the hose connections at both the intake and return, and running the system briefly at low water level catches leaks and air lock problems while they’re still easy to fix. Waiting until the pool is completely full to discover a loose fitting means draining water you just spent hours filling. The full sequence for wall assembly, liner installation, and getting the pump running on day one is covered in the assembly guide for above ground pools.
You’re ready to move into chemical startup once the pool is fully filled, the pump has run for a few minutes with no leaks or air in the lines, and the liner still looks smooth against the wall with the added weight of a full pool. If you can check all three, the structural side of this project is done.

This sand filter pump features a 6 function valve for filtering, backwashing, rinsing, recirculating, draining, and closing the system, plus HydroAeration Technology for improved circulation, clarity, and negative ion levels. A built in 24 hour timer offers 2 to 12 hour preset cycles for automatic operation. It delivers a 2,800 GPH capacity flow rate and 2,150 GPH in pool flow rate, suitable for Intex pools up to 17,200 gallons, and includes two 1.5 inch connector hoses. Sand can last up to 5 years with regular backwashing, and the pump comes with a 2 year limited warranty.
Check On AmazonIf you click this link and buy, we earn a commission at no additional cost to you.
Phase 3: Chemical Startup
The first fill needs chemicals added in a specific sequence before anyone gets in, and skipping steps or doing them out of order is the most common reason a brand new pool turns cloudy or green within the first week. Total alkalinity gets adjusted first, since it stabilizes pH and prevents it from swinging every time you add something else. From there it’s pH, then calcium hardness if your water needs it, then chlorine, and cyanuric acid (CYA) last.
CYA is the step people skip most, usually because it sounds optional. It isn’t, for any outdoor pool. Without it, direct sunlight burns off free chlorine within hours, which means you can dose the water correctly in the morning and have almost no sanitizer left by afternoon. Target 30 to 50 ppm of CYA for a fresh fill, and if you’re using stabilized chlorine like dichlor or trichlor tablets for ongoing maintenance, factor in that they add CYA with every dose going forward.
Well water changes the sequence in one important way. If your fill source is a well, especially one that tests high in iron or manganese, that water needs a metal sequestrant added during the fill itself, before any chlorine touches it. Chlorine reacts with dissolved metals to form stains on the liner that are far harder to remove than they are to prevent. Municipal water rarely needs this step, but it’s worth testing your source before you fill if you’re not already familiar with it.
- Alkalinity first, target 80 to 120 ppm, since it keeps pH from bouncing with every later addition.
- pH second, target 7.2 to 7.6 for a fresh fill.
- Calcium hardness if your source water tests soft, generally below 150 to 180 ppm.
- Chlorine to sanitize, added at dusk rather than midday so direct sun doesn’t burn it off before it works.
- CYA last, 30 to 50 ppm, to protect the chlorine you just added.
Run the filter continuously for the first 24 to 48 hours after the last chemical addition so everything circulates evenly before you retest. The full breakdown of dosing amounts by pool volume, plus what to do if your water source complicates the sequence, is covered in the chemical startup guide for a new above ground pool.
The pool is genuinely ready to swim in once the water runs clear rather than just clean-looking, free chlorine sits in the 1 to 3 ppm range on a retest, and pH holds steady rather than drifting within a few hours of the last adjustment. Clear water that hasn’t been tested isn’t the same thing as balanced water, and that distinction is where most first-week problems start.

These test strips check pH, total chlorine, free chlorine, bromine, alkalinity, total hardness, and cyanuric acid using medical industry technology for accuracy comparable to liquid tests. Simply dip the strip, wait 15 seconds, and compare it to the color chart, with no drops or measuring involved. Each color pad uses paper designed to keep colors vibrant and prevent bleeding for reliable readings. AquaChek has over 35 years of experience helping maintain healthy pool and spa water.
Check On AmazonIf you click this link and buy, we earn a commission at no additional cost to you.
How Long Setup Actually Takes
Kit boxes tend to undersell this. A 15-foot soft-sided frame pool on ground that’s already level and prepared takes about 3 to 4 hours from unboxing to a filled pool. A 24-foot steel wall pool on unprepared ground is a different project entirely, closer to 2 to 3 days once you include the time for ground preparation and letting a tamped or watered base settle before assembly.
| Pool Type and Ground Condition | Realistic Setup Time |
|---|---|
| 15-foot soft-sided frame, ground already level | 3 to 4 hours |
| 18-foot steel frame, ground needs minor leveling | 1 day |
| 24-foot steel wall, unprepared or sloped ground | 2 to 3 days |
Ground preparation is the single biggest variable in that spread, not the pool itself. A crew that’s leveled dozens of yards can move faster than a first-timer working solo with a shovel and a 2×4, and that’s fine. What matters is not compressing the timeline to hit a weekend deadline. Rushing ground prep to get the pool filled by Saturday afternoon is exactly how Phase 1 mistakes end up baked into a pool you’ll be dealing with for years.

Used at a rate of 1 quart per 10,000 gallons, this product removes and prevents calcium, cobalt, copper, iron, lead, manganese, nickel, and silver from pool water. It helps prevent discoloration caused by metals and minerals in the water supply while protecting plumbing and pool walls from rust, stain, and scale. As a general purpose sequestrant, it is suited for use during pool openings, closings, and throughout the season as needed.
Check On AmazonIf you click this link and buy, we earn a commission at no additional cost to you.
Final Thoughts: Order Matters as Much as Effort
A wrinkled liner or an unlevel base won’t announce itself immediately. It shows up as a slow leak next season, or a liner replacement three years earlier than it should have needed one. The fixes for all three phases are straightforward on their own. What trips people up is doing them out of order, or rushing whichever one doesn’t look urgent that day.
Work through ground preparation, assembly, and chemical startup in that sequence, don’t compress the timeline to fit a weekend, and don’t skip a step just because the water already looks clear. Clear water and balanced water aren’t the same thing, and only one of them protects the pool long term.
Where to Go Next
Each phase above has a full guide with the exact steps, tools, and numbers for your specific pool type and situation.
| Guide | What it helps with |
|---|---|
| Ground Preparation for Above Ground Pools | Leveling tools, base material options, and cove construction by pool size. |
| Above Ground Pool Assembly Guide | Step-by-step wall, upright, and liner installation, plus the pump priming sequence. |
| Chemical Startup for a New Above Ground Pool | Exact dosing by pool volume and what changes if you’re filling from a well. |
Start with whichever phase you’re closest to right now. If you haven’t broken ground yet, ground preparation is where the real work is.
FAQs
📏 How level does the ground need to be for an above ground pool?
Within about 1 inch across the entire footprint. Beyond that, water distributes unevenly and puts uneven pressure on the wall, which can shorten liner life or, in bad cases, lead to a structural failure.
⏱️ How long does it take to set up an above ground pool?
A 15-foot soft-sided pool on already-level ground takes 3 to 4 hours. A 24-foot steel wall pool on unprepared ground takes 2 to 3 days once you include ground preparation and base settling time.
🧪 What chemicals do I add first when filling a new above ground pool?
Total alkalinity first, then pH, then calcium hardness if your water tests soft, then chlorine, then cyanuric acid last. Adding them out of order wastes chemicals since each one affects the readings of the next.
☀️ Do I really need cyanuric acid in a new pool?
Yes, for any outdoor pool. Without it, direct sunlight burns off free chlorine within hours, so the water tests fine in the morning and has almost no sanitizer left by afternoon.
💧 Does well water need special treatment before filling a pool?
If the well tests high in iron or manganese, add a metal sequestrant during the fill, before any chlorine touches the water. Chlorine reacts with dissolved metals to stain the liner, and that stain is much harder to remove than it is to prevent.
🔧 Can I fix a liner wrinkle after the pool is already full?
Rarely without draining. A wrinkle that sets while the pool fills becomes a permanent fold, so it’s worth draining back down and smoothing it out the moment you notice one rather than waiting.
Sources and References
The leveling tolerance, base material, and chemical sequence figures in this guide are cross-checked against the following:
- Manufacturer ground leveling and base preparation instructions, used for sand base depth and cove guidance.
- New pool chemical startup sequence and target ranges, used for the alkalinity-pH-calcium-chlorine-CYA order and target ppm ranges.
- Well water metal sequestrant timing for pool fills, used for the well water pretreatment sequence.
- Above ground pool first-fill startup instructions, used for filter run time and stabilizer dosing after startup.