The above ground pool first fill is the step where a rushed setup either holds together or shows every mistake made underneath the liner. I walk through how fast to fill, how to check the liner as the water rises, when it is actually safe to connect and start the pump, and how long the whole process takes for a typical 15-foot pool. I also cover the difference between an inflatable ring-top pool and a frame pool during filling, since they behave differently in the first few inches. By the end, you will know exactly when to touch the pump and when to leave it alone.
What the First Fill Decides Before You Ever Test the Water
I have watched more than one first fill go sideways in the first twenty minutes, and it is almost never a bad pool. It is a hose left running unattended, a pump turned on too early, or a liner bead that slipped and nobody noticed until the water was six inches deep and already holding it in place. Filling looks like the easy part after a weekend of leveling ground and setting the frame, which is exactly why people stop paying attention right when they need to pay the most.
This part assumes the groundwork is done and the liner is already in, since I cover getting the frame and liner set up correctly as its own job. Before the hose ever goes over the wall, it also helps to have every fitting, clamp, and hose connector already sorted and within reach. Stopping mid-fill to dig through a box for a missing part is how a liner ends up unattended longer than it should be. What comes next is the sequence that protects that work: how the water should go in, what to watch for while it rises, and the exact point where the pump becomes safe to run instead of a way to burn out a brand-new motor.

This 50-foot garden hose kit uses flexible hybrid polymer and includes a twist-action nozzle, quick-connect flow-stop coupler, spigot adapter, hose adapters, and hose hanger. The hose stays flexible in changing weather and is designed not to kink under pressure. Reinforced mid-layering adds strength, while the outer cover resists abrasion, UV exposure, and mold. It is rated to 150 PSI.
Check On AmazonIf you click this link and buy, we earn a commission at no additional cost to you.
Filling Slow Enough to Keep the Liner Where It Belongs
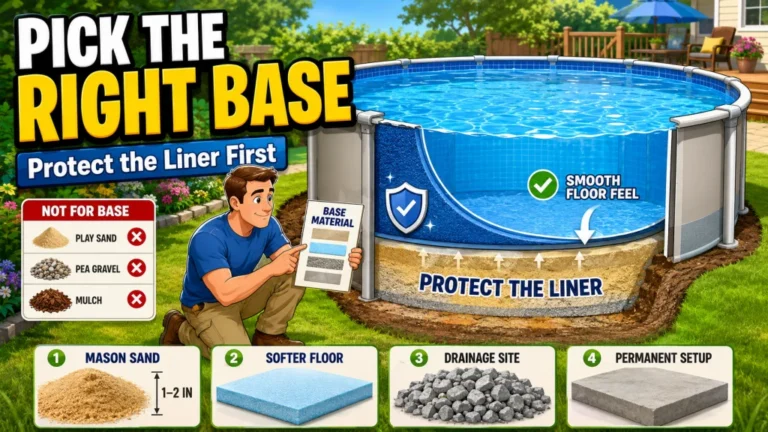
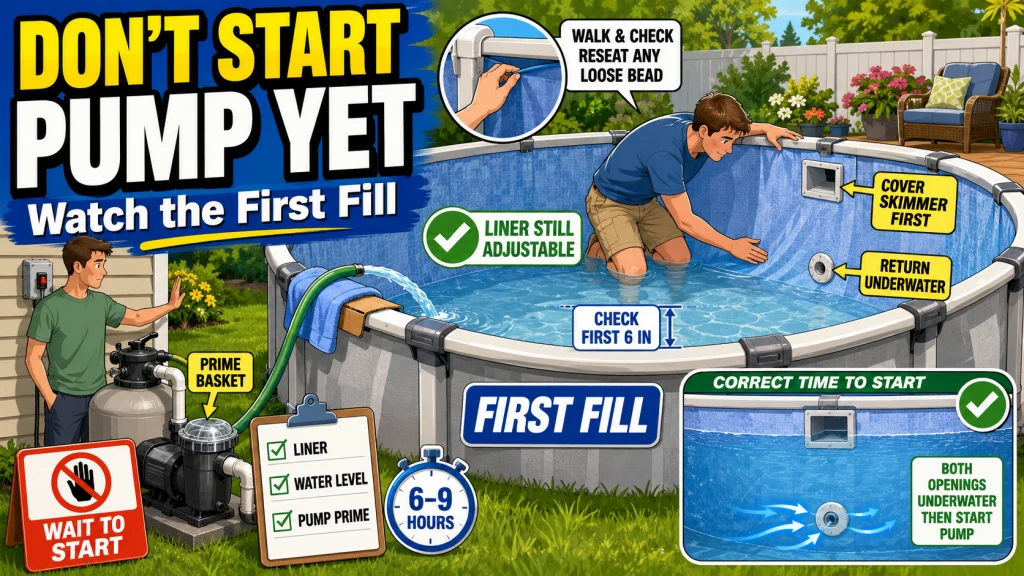
Do not just drop a hose over the wall and walk away. I run the hose down inside the pool and let it rest on a flattened piece of cardboard or a spare towel on the floor, not directly on the sand base. A hose jet hitting bare sand at full pressure will carve a small crater under the liner in the time it takes you to answer a phone call, and that dip becomes a soft spot the liner settles into permanently.
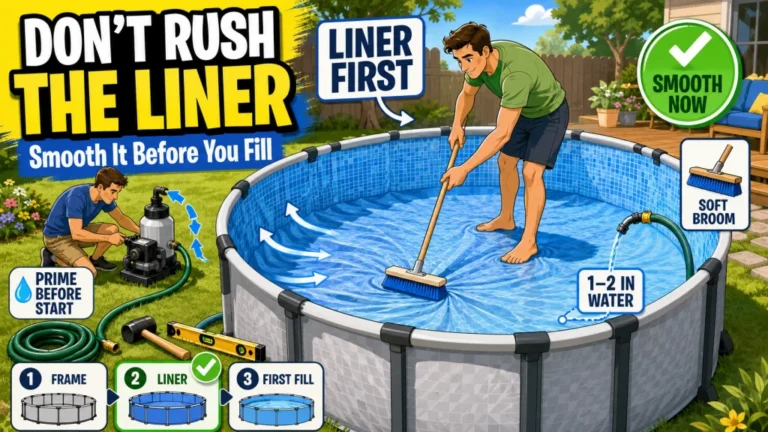
For the first six inches or so, the liner has no water weight holding it against the wall yet, which means it can still shift. I walk the perimeter every couple of inches of depth and run my hand along the bead track where the liner locks into the top rail. If a section has popped loose or is riding higher on one side than the other, this is the window to reseat it. Once the water passes roughly six inches, the weight starts pinning the liner in place and it gets much harder to correct anything without draining back down.
- Check the bead track at every visible seam, not just the spots that look off from a distance.
- Look for wrinkling at the floor-to-wall corner, which usually means the cove was not packed tight enough during setup.
- Watch the water line against the wall for any spot where it looks uneven, since that can point to a low corner in the base.
- Keep a second person nearby if the pool is 15 feet or larger. Walking the full perimeter alone while also watching the hose is how corners get missed.
Most of this is just presence. A liner rarely fails silently. It gives you a bead that is half seated or a wrinkle that was not there an hour ago, and the fix takes two minutes if you catch it early instead of after the pool is half full.
Inflatable Ring-Top Pools Behave Differently While Filling
An Intex-style Easy-Set pool does not have a bead track locking a liner into a frame, so the failure mode during filling is different. The top ring is inflated first and helps hold the wall’s shape, and the water level rising inside is what keeps the wall standing upright as it fills. There is no seam to slip in the way a frame pool’s liner can slip, but there is a different mistake I see constantly: overfilling past the printed fill line on the liner wall.
Stop at the fill mark and no higher. Push past it and the wall can bow outward under the extra weight, especially on ground that has even a slight slope the owner did not fully correct. If you are not sure which category your pool falls into, I am not talking about a permanent steel wall pool here. An inflatable ring-top pool is a different structure from a frame pool, and the filling rules for one do not fully transfer to the other.

This 50-foot garden hose uses flexible hybrid polymer and an abrasion-resistant outer cover. Crush-resistant anodized aluminum fittings and a durable O-ring support leak-free connections, while the hose is designed to resist kinking under pressure and coil easily. Its lightweight construction makes it easier to carry and reposition around the pool. The hose is rated to 150 PSI.
Check On AmazonIf you click this link and buy, we earn a commission at no additional cost to you.
Why the Pump Waits Until the Water Covers the Skimmer
This is the mistake that costs people an actual pump, not just a slow morning. Do not connect and start the pump until the water level is above the skimmer mouth and the return jet. If the skimmer or suction side is still sitting exposed to open air, the pump pulls air instead of water, and an unsealed or unsubmerged return fitting keeps the system from circulating correctly even after the pump starts moving water. A pump running on air for even a few minutes can score or burn the impeller, and that damage does not show up until the pool is full and the water still will not clear because the pump can no longer move volume the way it should.
The correct order is simple even though it gets skipped constantly: fill until the water sits comfortably above both the skimmer opening and the return fitting, install the hoses and any remaining fittings, then prime the pump by filling the strainer basket with water from a hose before you ever flip the switch. This lines up with how pool pump manufacturers and service guides describe priming an above ground system, since these pumps sit below the pool’s water level and are not designed to self-prime the way some inground equipment can.
Connecting the pump as soon as the hoses reach and flipping it on to “get it running early.”
Waiting until the skimmer and return are both submerged, priming the basket by hand, then starting the pump.
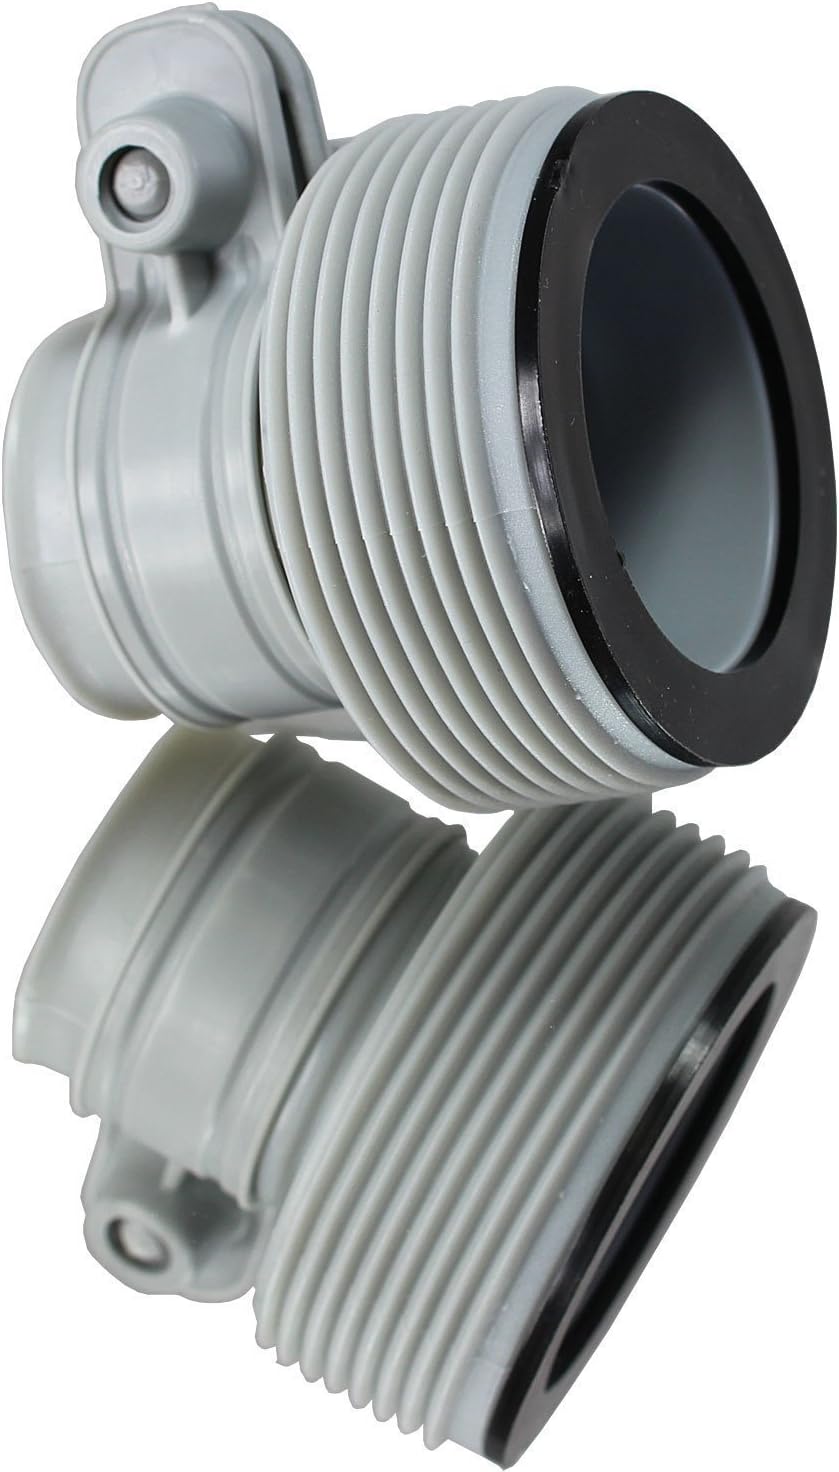
This two-adapter set converts INTEX pools with 1.25-inch fittings to 1.5-inch fittings. It is intended for upgrades from a 1,000 GPH INTEX pump or smaller to a 1,500 GPH pump or larger, with two adapters generally needed for the larger connection. The adapters are made from ABS and polypropylene and use part number 10722/25009.
Check On AmazonIf you click this link and buy, we earn a commission at no additional cost to you.
The First 30 Seconds After You Start the Pump
Once the pump is on, stand there and watch the return jet for the first half minute. Water should be visibly pushing back into the pool within about 30 seconds. If nothing is coming out and the pump sounds like it is running dry or straining, shut it off immediately instead of giving it “a little more time.” Air trapped in the line is the usual reason, and it almost always traces back to one of two things: the water level had not actually cleared the skimmer yet, or the strainer basket lid was not sealed tight after priming.
A pump that runs without moving water for more than about a minute is a real risk to the motor and seals, not just an inconvenience. If it will not prime on the second attempt, recheck the water level first before assuming something is broken. In my experience, low water at the skimmer accounts for the majority of “the pump won’t prime” calls I get during first fills, far more than any actual equipment defect.
Field Note: I have had homeowners call convinced their brand-new pump was defective, only to find the pool was still four inches below the skimmer opening. The pump was fine. It just never had water to grab onto.
How Long the First Fill Actually Takes
A 15-foot by 48-inch frame pool holds around 4,440 gallons at a 90 percent fill level, which is the number stamped on most manufacturer spec sheets for that size. A standard garden hose at typical residential pressure moves somewhere between 8 and 12 gallons per minute, so the math lands you somewhere between roughly six and nine hours of continuous filling depending on your home’s water pressure and hose diameter.
| Garden Hose Flow Rate | Approximate Fill Time (4,440 Gallons) |
|---|---|
| 8 GPM | About 9 hours 15 minutes |
| 10 GPM | About 7 hours 24 minutes |
| 12 GPM | About 6 hours 10 minutes |
Do not plan to leave for the day once the hose goes in. A liner that shifts unattended for six hours is a much bigger correction than one caught at the ten-minute mark, and in the worst cases it means partially draining the pool to fix a bead that slipped while nobody was watching. If you genuinely cannot stay nearby the entire time, check back at least every 30 to 45 minutes during the first couple of feet of depth, since that is the window where the liner is least secured.
What to Do If Something Looks Wrong During the First Fill
Watching the pool is only half the job. The other half is knowing what to actually do the moment something looks off, instead of hoping it settles itself out by the time the pool is full. None of these are emergencies if you catch them early. Most turn into a real problem only when the fill keeps running unattended after the warning sign shows up.
| What You Notice | What It Usually Means | What to Do Before Filling Continues |
|---|---|---|
| A bead looks loose or half seated | The liner shifted before the water weight locked it in place | Stop the hose and reseat the bead before the depth gets any higher |
| The water line looks uneven along the wall | The base may not be level in one section | Pause and inspect that corner before adding more weight of water |
| A wrinkle at the floor-to-wall corner is getting worse | The cove was not packed tight enough during setup | Smooth it out now, while the water is still shallow enough to work with |
| The pump runs but no water returns to the pool | Trapped air, a skimmer still above water, or a loose strainer lid | Shut the pump off, recheck the water level, and reprime before restarting |
| The hose is carving a visible dip in the floor | The water jet is disturbing the sand base directly | Move the hose onto cardboard or a folded towel right away |
None of these fixes take long, which is exactly why staying nearby during the fill matters more than any single step in this guide. A five-minute correction at the six-inch mark is nothing. The same issue found after the pool is full usually means draining part of it back down just to get at the problem.
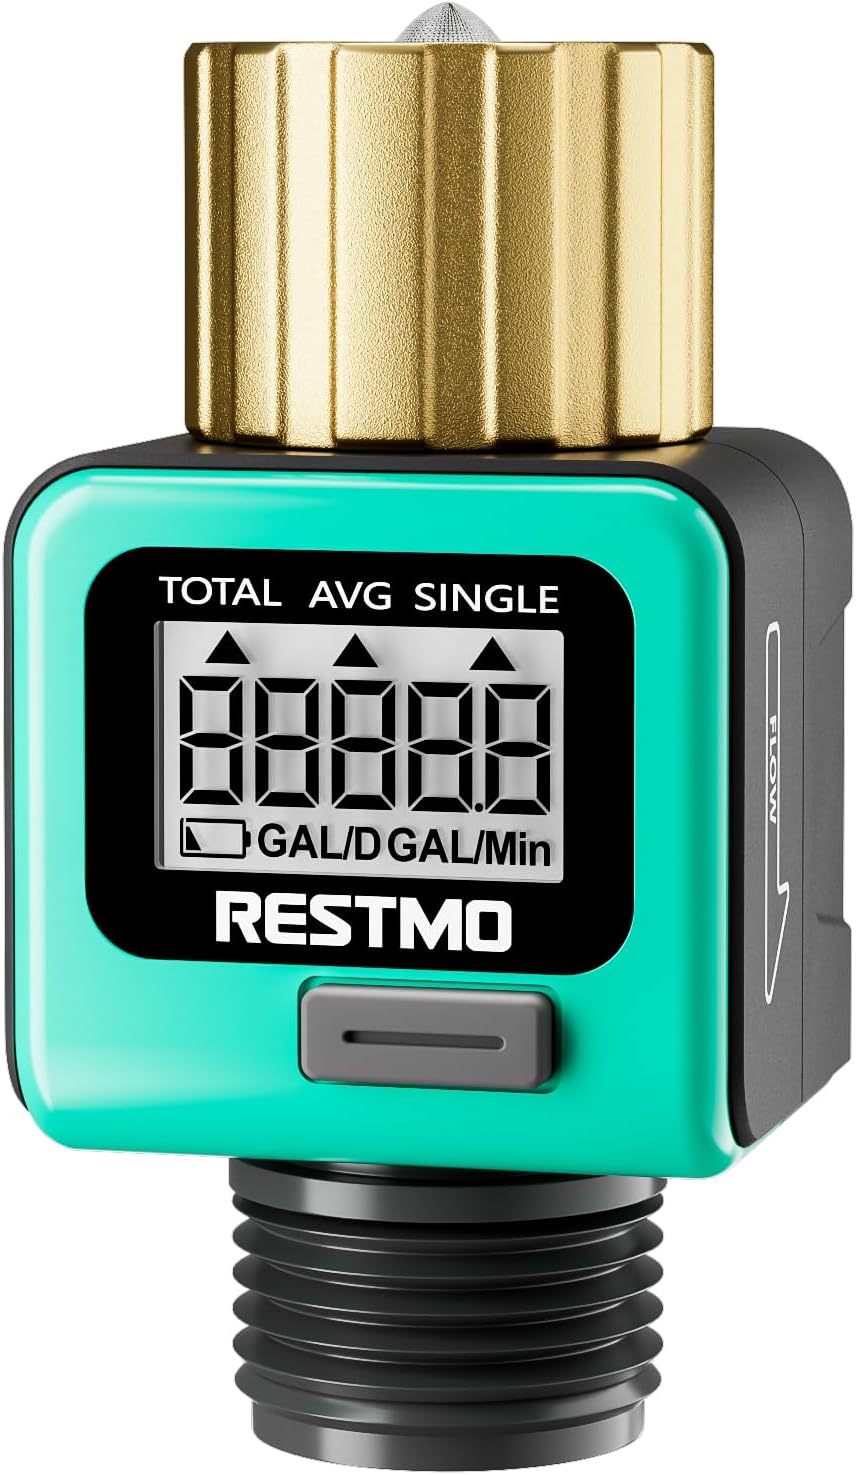
This water flow meter uses a brass inlet with metal threading and tracks both water consumption and flow rate. Its 2.28-inch screen provides four measurement settings for monitoring outdoor water use. The meter supports gallon or liter measurement and is designed for use with a garden hose. The Amazon listing data shows a 4.5-star rating from more than 3,600 reviews.
Check On AmazonIf you click this link and buy, we earn a commission at no additional cost to you.
Final Thoughts: Get the Water In Before You Get the Chemicals In
The first fill is not the exciting part of putting in an above ground pool, but it is the part that quietly decides whether the liner sits right and whether the pump survives its first season. Fill slowly, walk the liner while it is still adjustable, wait for the skimmer to disappear under the water before you touch the pump, and give the whole process the hours it actually needs instead of the hours you wish it took.
Once the pool holds a steady level above both fittings and the pump is circulating cleanly, the water still is not ready for swimming. Balancing chemicals comes next, and it is its own process with its own sequence, separate from anything covered here. If you have not mapped out the rest of the setup yet, the full sequence from ground prep through the first swim is worth reading before you get this far, so nothing about the fill catches you off guard.
FAQs
🚰 How long does it take to fill a 15-foot above ground pool?
Around six to nine hours for a typical 4,440-gallon 15-foot frame pool, depending on your hose’s flow rate. A stronger residential hose closer to 12 GPM finishes faster than a weaker one closer to 8 GPM.
🧵 Should I fix a shifted liner bead before the pool fills all the way?
Yes. Reseat any loose bead sections while the water is still under about six inches deep. Once the water weight builds up, the liner is much harder to adjust without draining part of the pool back down.
⚡ Can I turn on the pump before the pool is full?
Not until the water covers both the skimmer opening and the return jet. Running the pump before that point pulls air instead of water and risks damaging the impeller within minutes.
🌀 Why is no water coming out of the return jet when the pump is running?
This is almost always trapped air, usually from a water level that has not cleared the skimmer yet or a strainer lid that was not sealed after priming. Shut the pump off, recheck the water level, and reprime before trying again.
🎈 Does an Intex Easy-Set pool need the same fill process as a frame pool?
Not exactly. There is no bead track to slip, so the main risk is overfilling past the printed line on the liner wall, which can bow the wall outward instead of causing a liner shift.
🕒 Can I leave the hose running in the pool overnight?
I would not. A first fill needs someone checking on it regularly, especially in the first couple of feet of depth when the liner is still adjustable. Check back every 30 to 45 minutes if you cannot stay the whole time.
Sources and References
- Manufacturer water capacity specification for a 15-foot by 48-inch metal frame pool, listed as Intex’s official product page for the 15ft metal frame pool set.
- Step-by-step pump priming procedure, including filling the strainer basket with water before startup, from Angi’s guide on priming a swimming pool pump.
- Guidance on above ground pump placement below the pool’s water level and the water-level check needed before priming, from The Pool Factory’s above ground pump priming instructions.